Quick summary
Adding an existing project to Bitbucket using Sourcetree lets developers link a local repository to a remote hosting service and manage version control without using the command line. This six-step walkthrough covers account setup, repository selection, and cloning so you can start pushing and pulling code immediately.
Steps
- Launch Sourcetree and click the '+ Add an account' option to begin setup.
- Link your Bitbucket account as the hosting service to access your remote repositories.
- Click 'OK' to save your account settings and proceed.
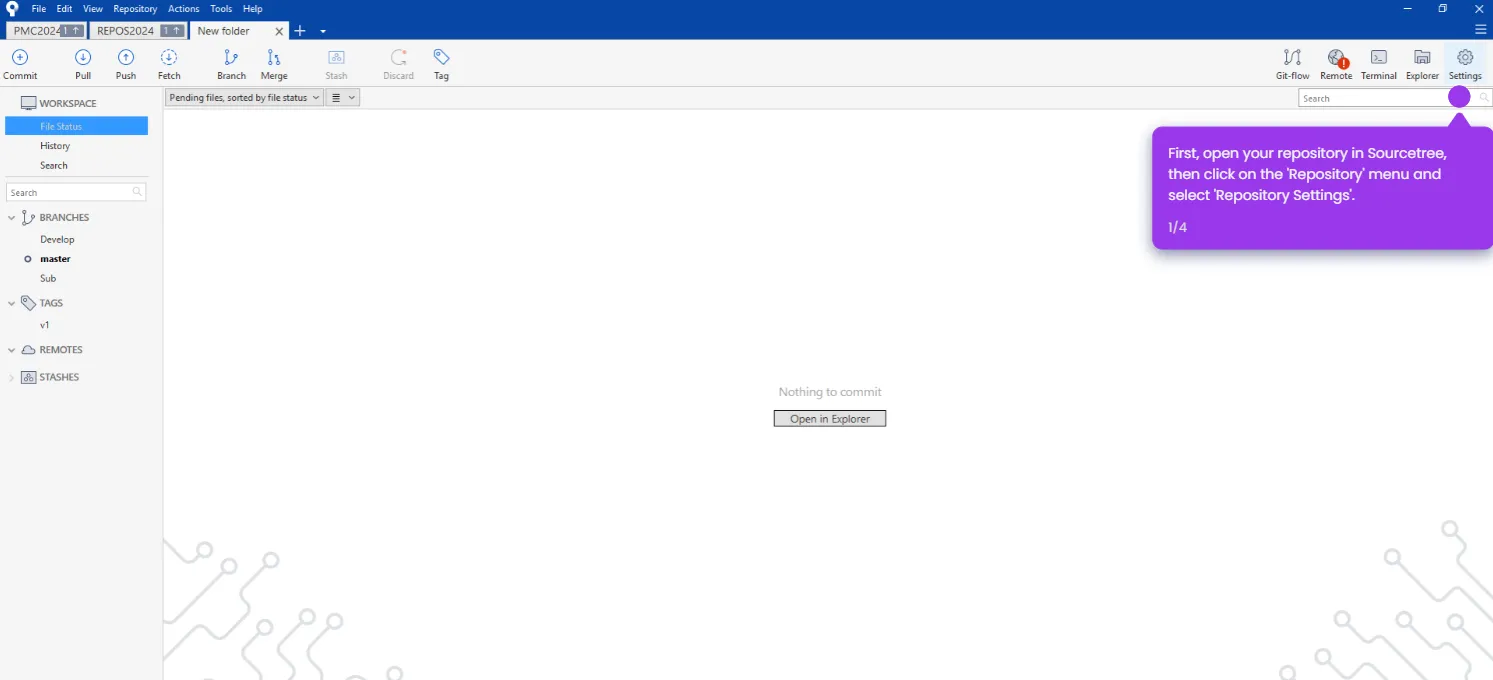
- In Sourcetree, click the 'Clone' button to start the repository connection process.
- Select your Bitbucket account from the dropdown, pick the repository you want to add, and choose a local storage path.
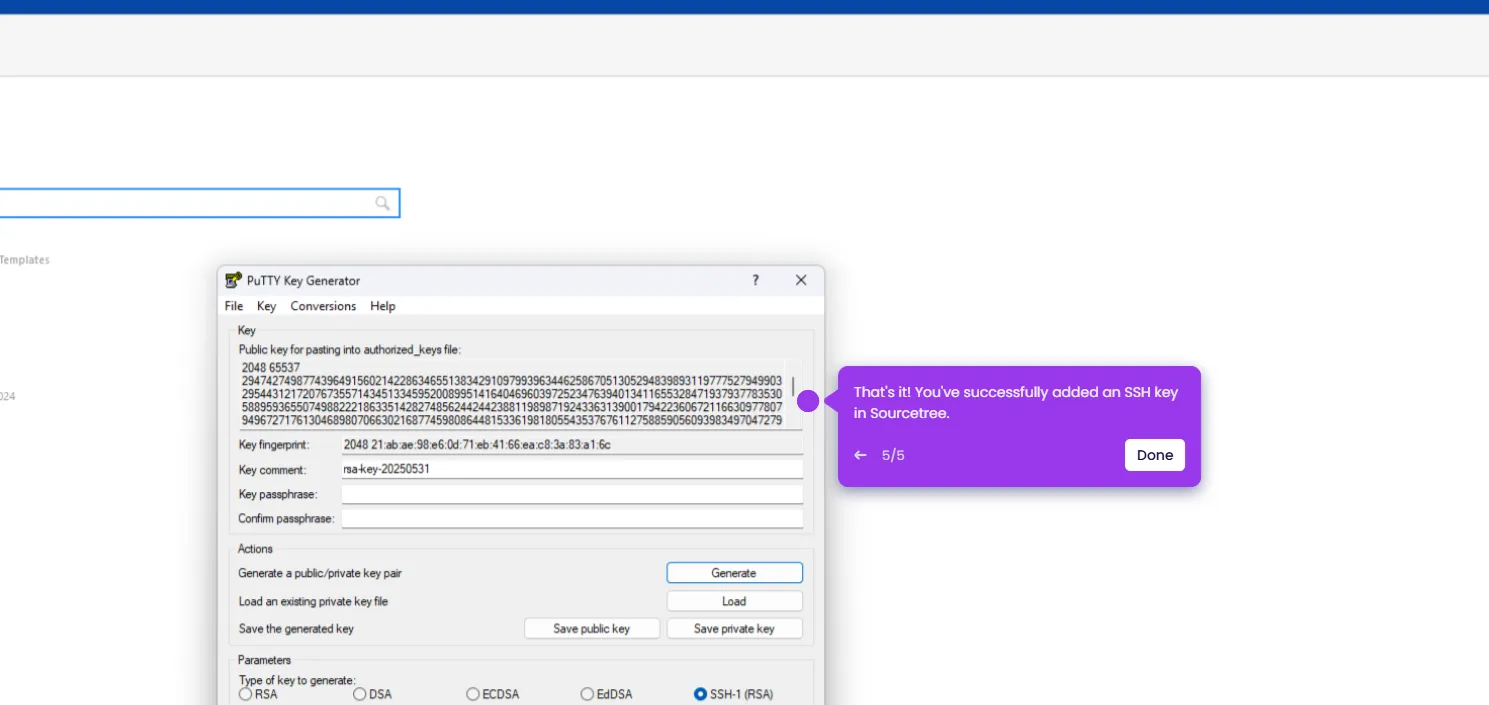
- Click 'Clone' to finish — your repository is now available in Sourcetree and ready for pull, push, and commit operations.