Quick summary
This tutorial shows how to create a new app in Bubble.io by selecting a blog template, customizing its design and content in the visual editor, and deploying it live — all without writing any code. Bubble.io's no-code platform lets anyone build a fully functional web app by configuring elements, layouts, and dynamic functionality through a drag-and-drop interface.
Steps
- In the Bubble dashboard, click the 'Start from scratch' button to begin creating a new app.
- Choose a blog template as your foundation, name your app, and click 'Get started'.
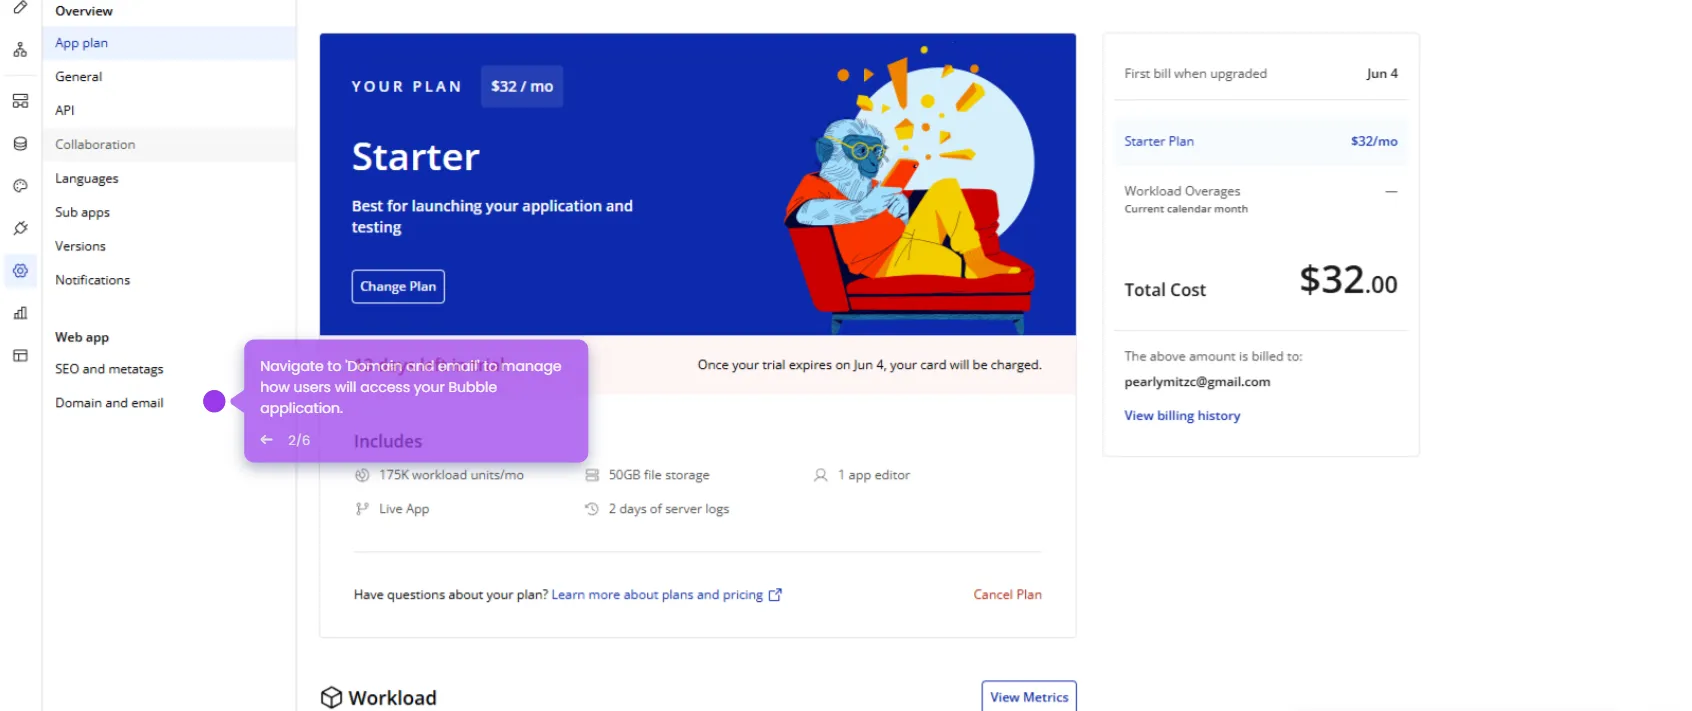
- Click 'Activate free trial' to unlock powerful features for customizing your app's appearance and functionality.
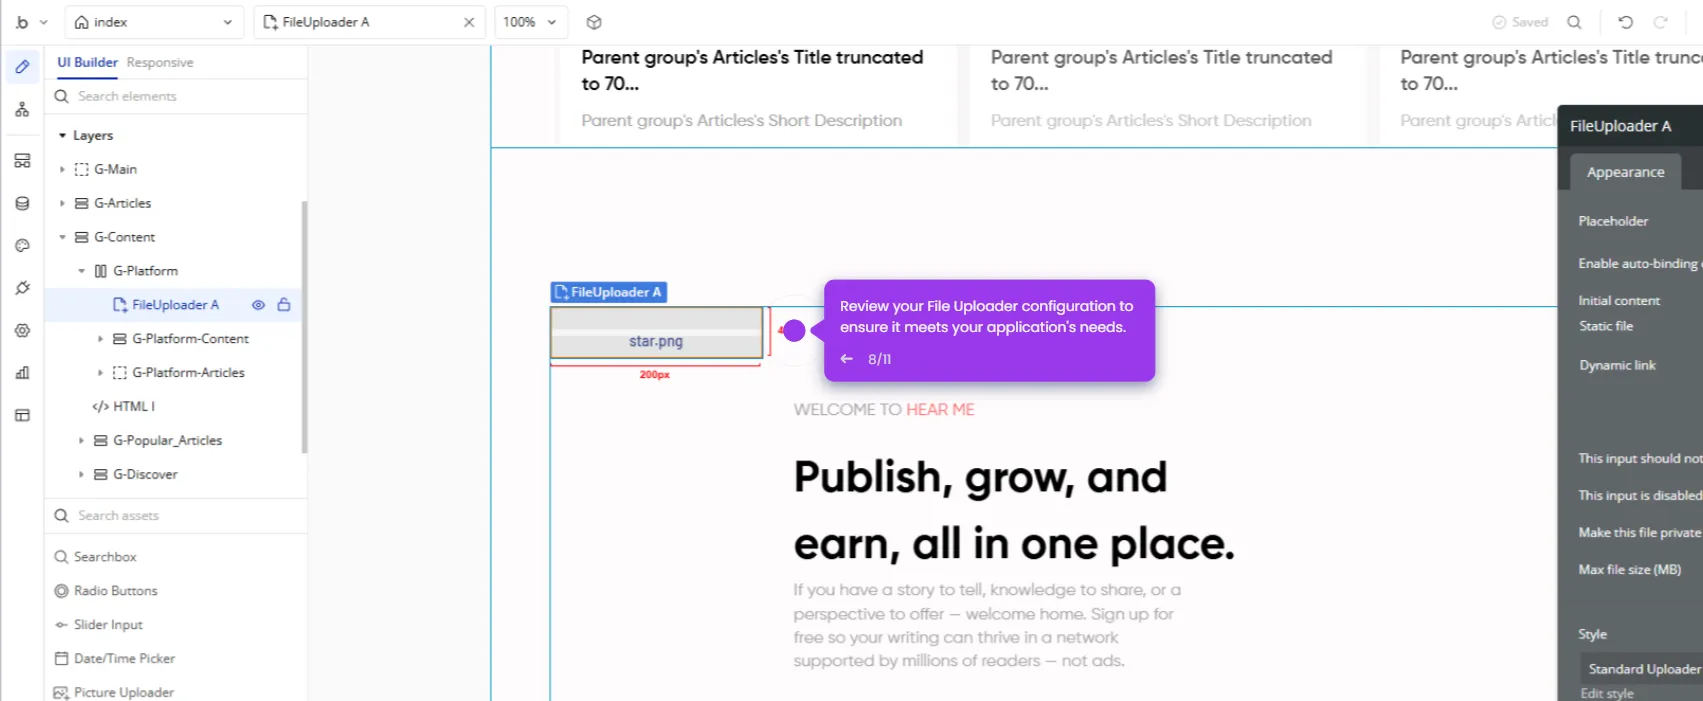
- Open the Elements Tree to organize and manage your app's components.
- Customize your blog's headline to reflect your brand and purpose.
- Add a compelling call-to-action button (such as 'Start writing') to encourage user engagement.
- Adjust your blog's layout and design elements to match your creative vision.
- Modify content areas to craft the ideal reading experience for your audience.
- Add dynamic functionality to make your blog interactive and engaging.
- Click 'Deploy' to publish your app and share your fully functional blog with the world.