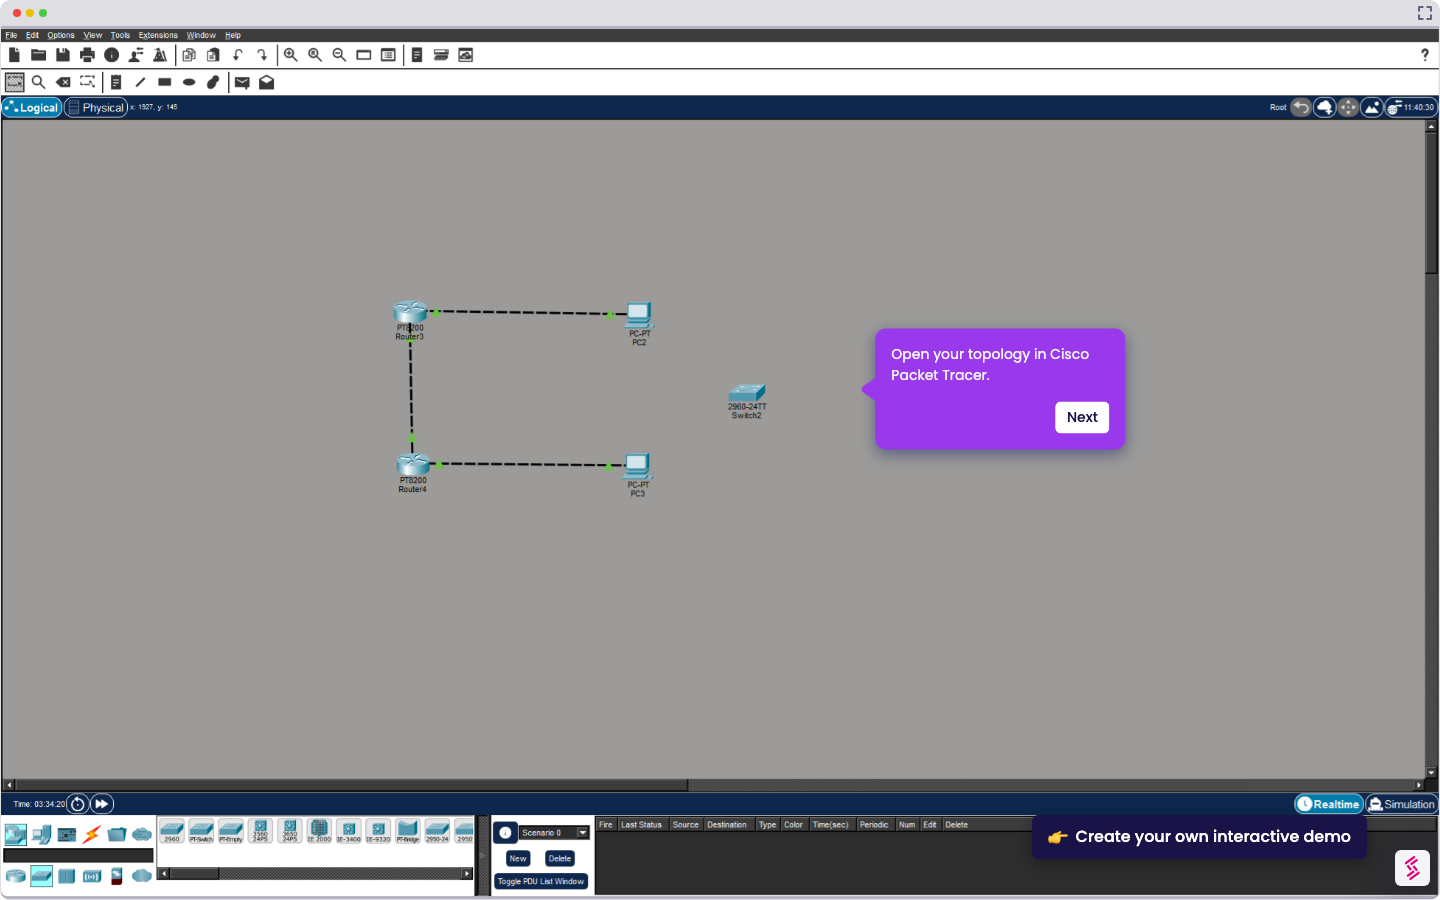
- Open Cisco Packet Tracer.
- In the device selection box at the bottom of the window, drag and drop the network devices you want to use onto the main workspace.
- In the bottom toolbar, click the Connections tool, then connect your devices using the appropriate cable type.
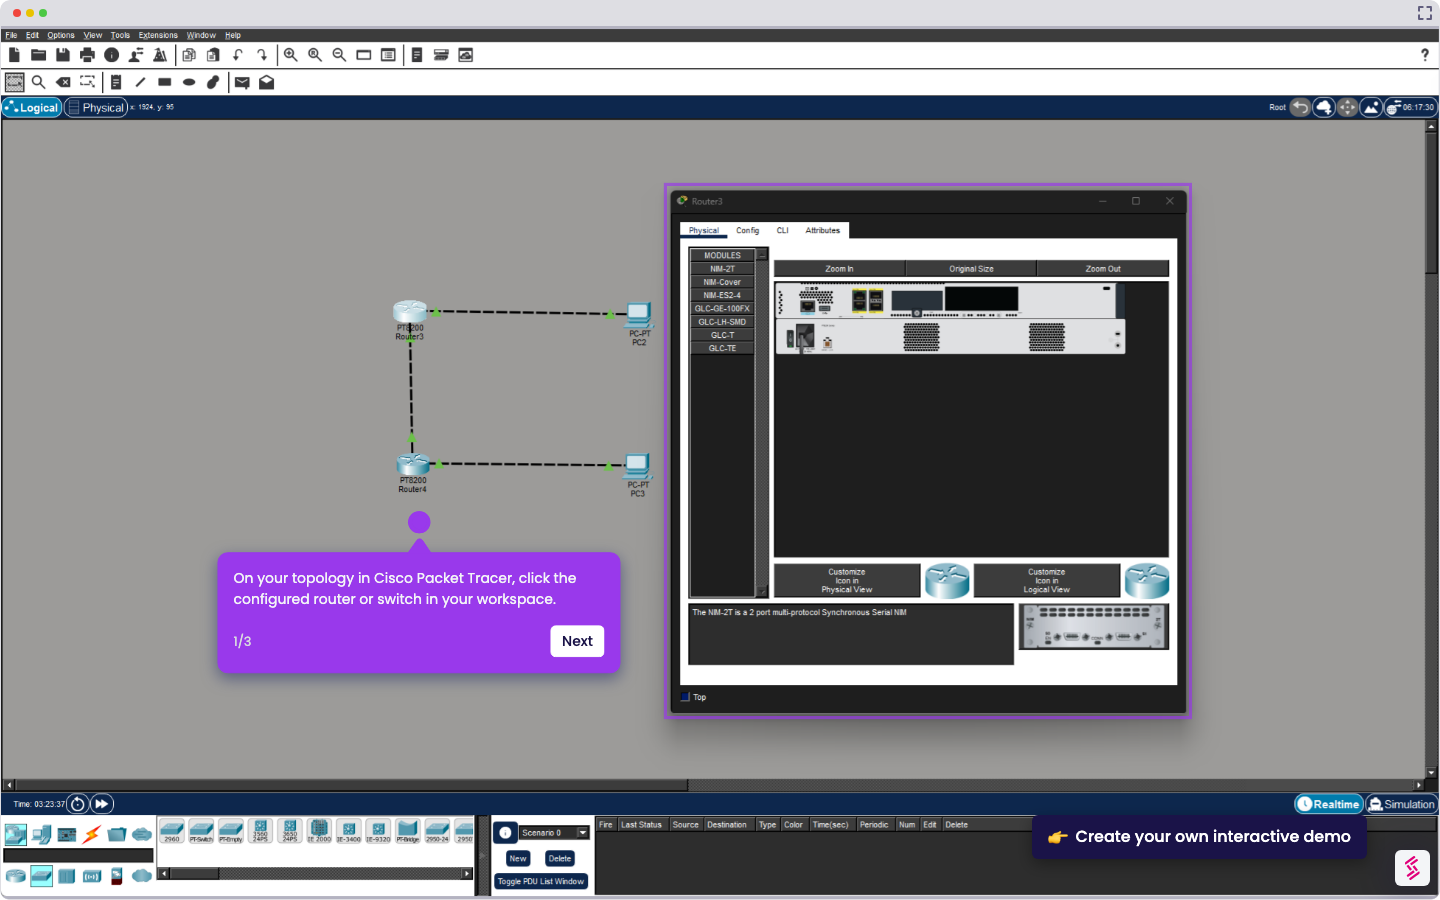
- In the workspace, click each device to open its configuration window and apply your settings.
- Once your topology is set up, click Simulation to test device connectivity.
- In the top menu, click File, then select Save As.
- Enter your file name, then click Save to create your .pkt file.
How to Create a .PKT File in Cisco Packet Tracer
Use this step-by-step demo to learn how to create a .PKT file in Cisco Packet Tracer.
Your product deserves an interactive demo