Quick summary
This tutorial walks you through creating a form in Bubble.io using the visual Design editor, the Data tab, and the Workflow builder to collect and store user input without writing any code. By the end, you will have a fully functional, deployed form connected to a custom data type in your Bubble app.
Steps
- Go to the Design tab in your Bubble.io editor.
- Choose the page where you want the form to appear.
- Drag and drop Text Input elements onto the page for each form field.
- Add a Button element at the bottom of the form.
- Place the button into the form layout.
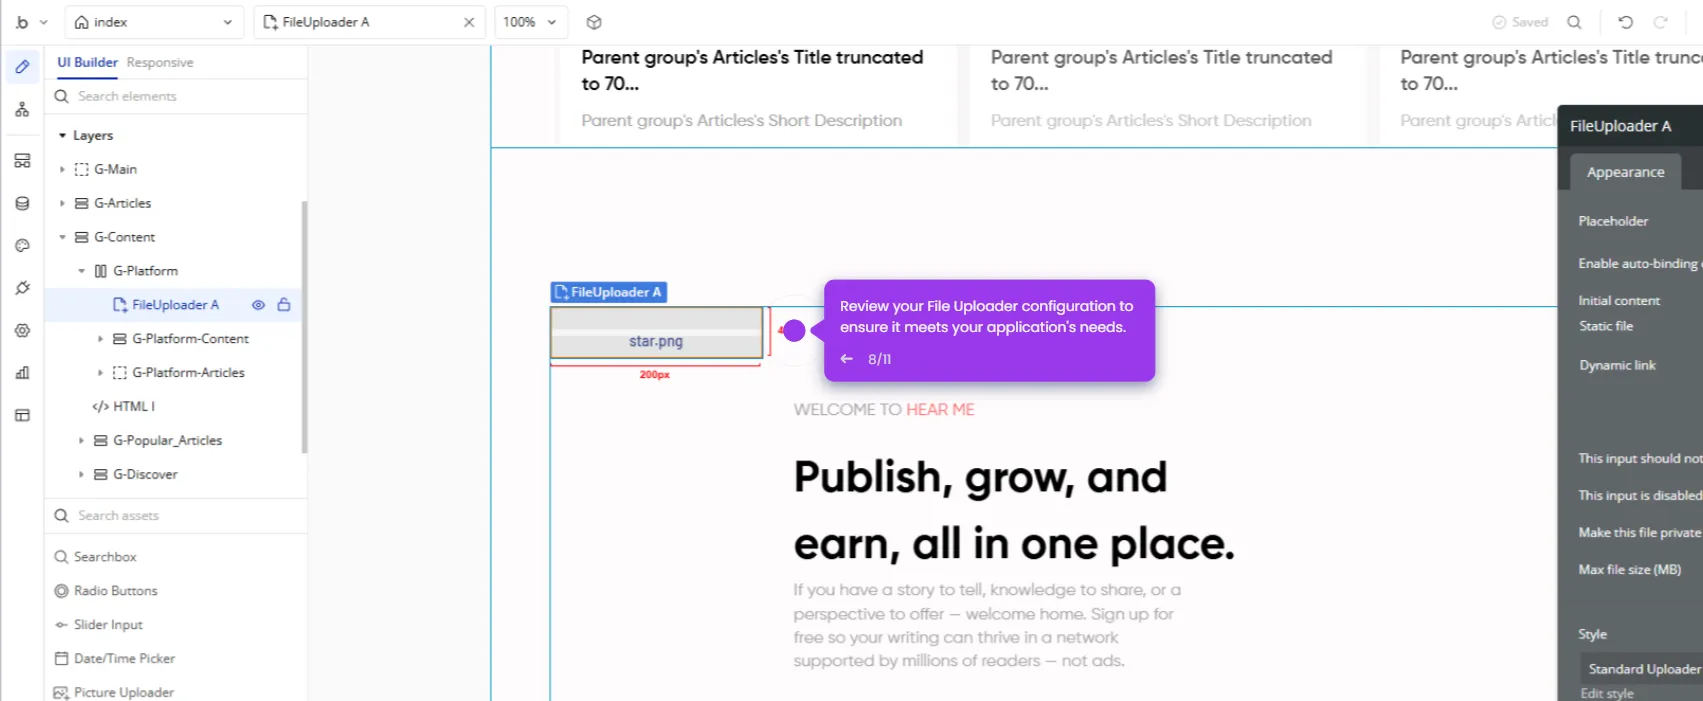
- Navigate to the Data tab.
- Under Data Types, add a new type and click Create.
- Click Create a new field to add fields to your data type.
- Enter the field name and field type, then click Create.
- Click on the Workflow button to open the workflow editor.
- Click the add icon to start a new workflow event.
- Add an action and click Data.
- Select Create a new thing... to set up the data action.
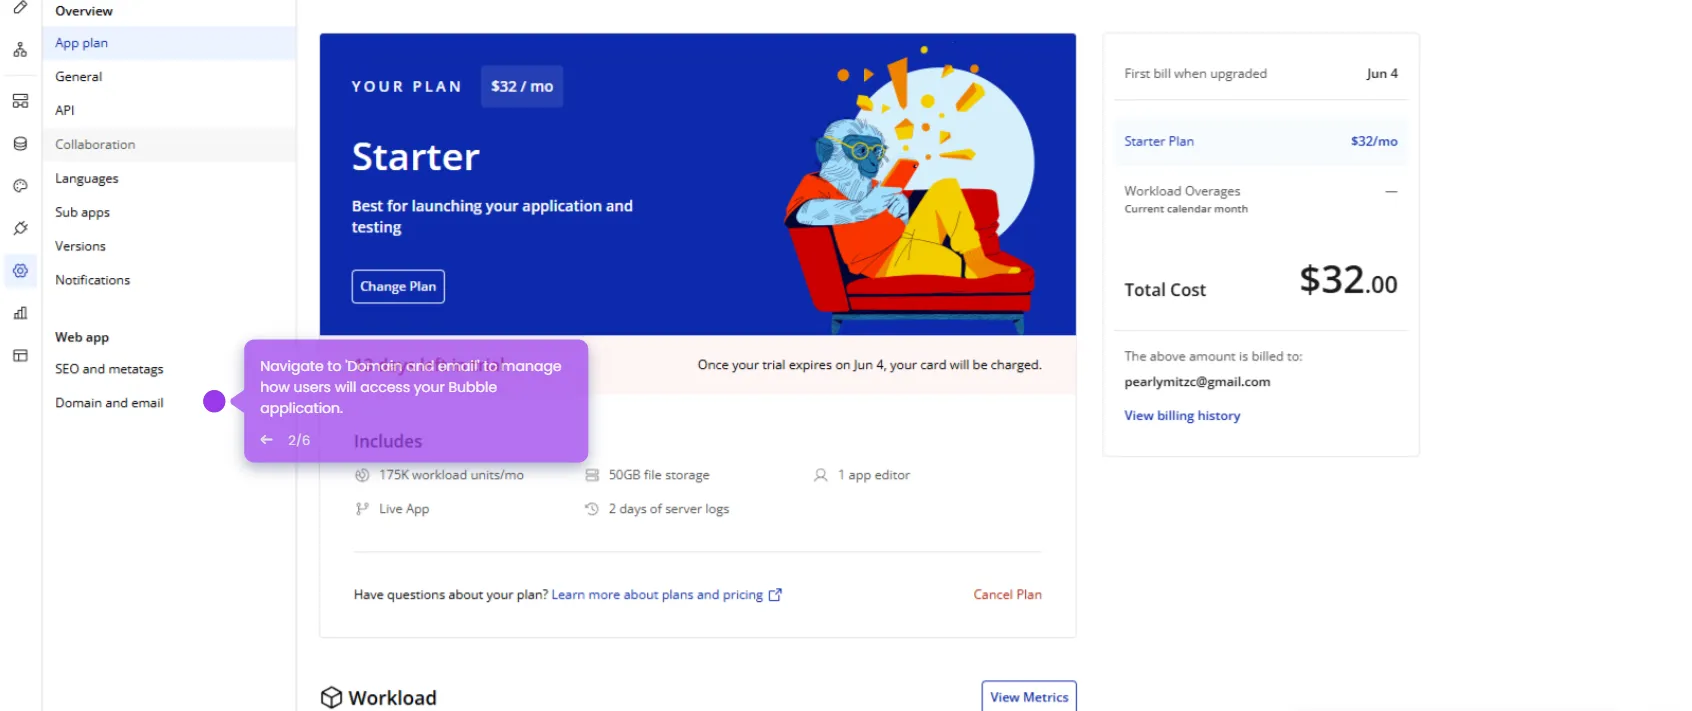
- Finalize your form and click Deploy to publish it live.