This interactive demo was created free with Storylane in 2 minutes. Create your own demo
Start free
All Tutorials /Framer

How to Make a Button in Framer

Updated on:
June 5, 2026
By:
Madhav Bhandari
Use this interactive demo to learn how to build and customize a button in Framer.

Quick summary

This tutorial walks you through how to create a button in Framer by inserting a Text element, converting it into a button component, and customizing its padding, border, and label text before previewing it on Desktop. Framer's visual design tools make it straightforward to build fully styled, interactive buttons without writing any code.


Steps

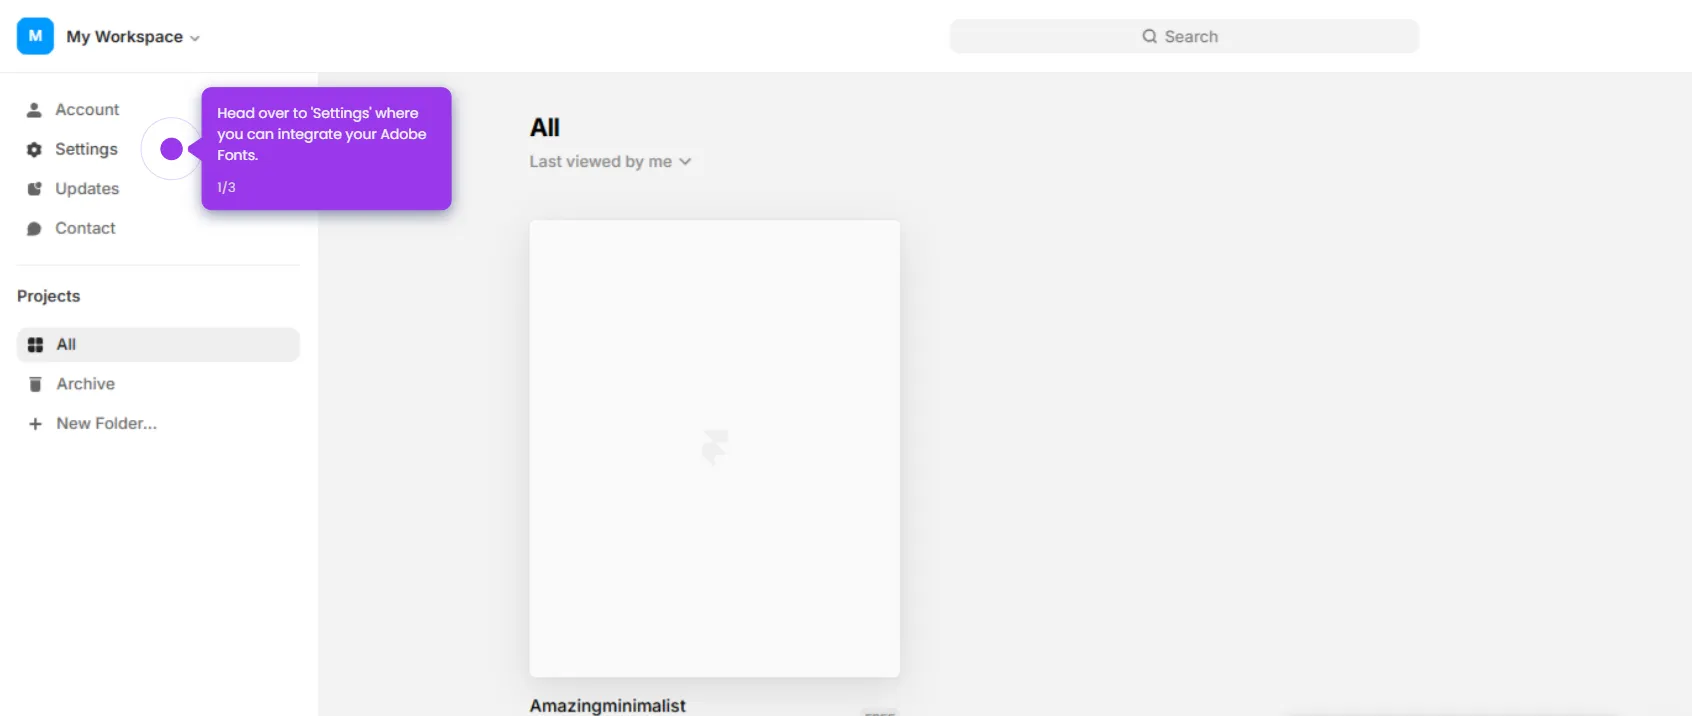
  1. Open your Framer project and select the Text element from the insert panel.
  2. Name your button to keep your layers organized and identifiable.
  3. Select the button component to begin customizing its appearance in the properties panel.
  4. Add a Stack component to organize elements with automatic spacing.
  5. Adjust Padding to create comfortable spacing around the button's content.
  6. Enter exact pixel measurements for precise, pixel-perfect button dimensions.
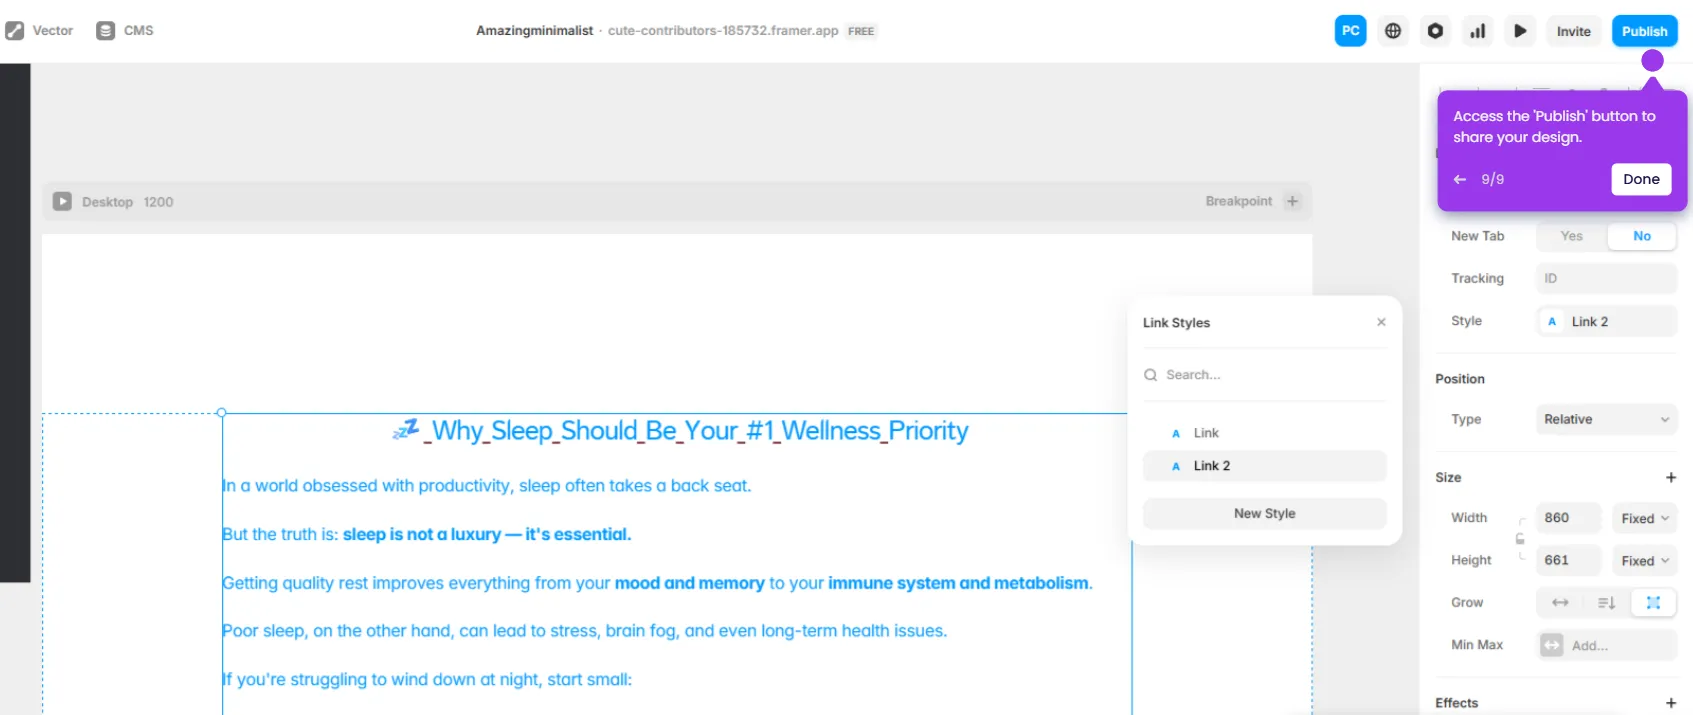
  7. Go to Border settings to make your button visually interactive and styled.
  8. Choose a border style — Solid, Dashed, Dotted, or Double — to match your design aesthetic.
  9. Enter your custom label text to personalize the button component.
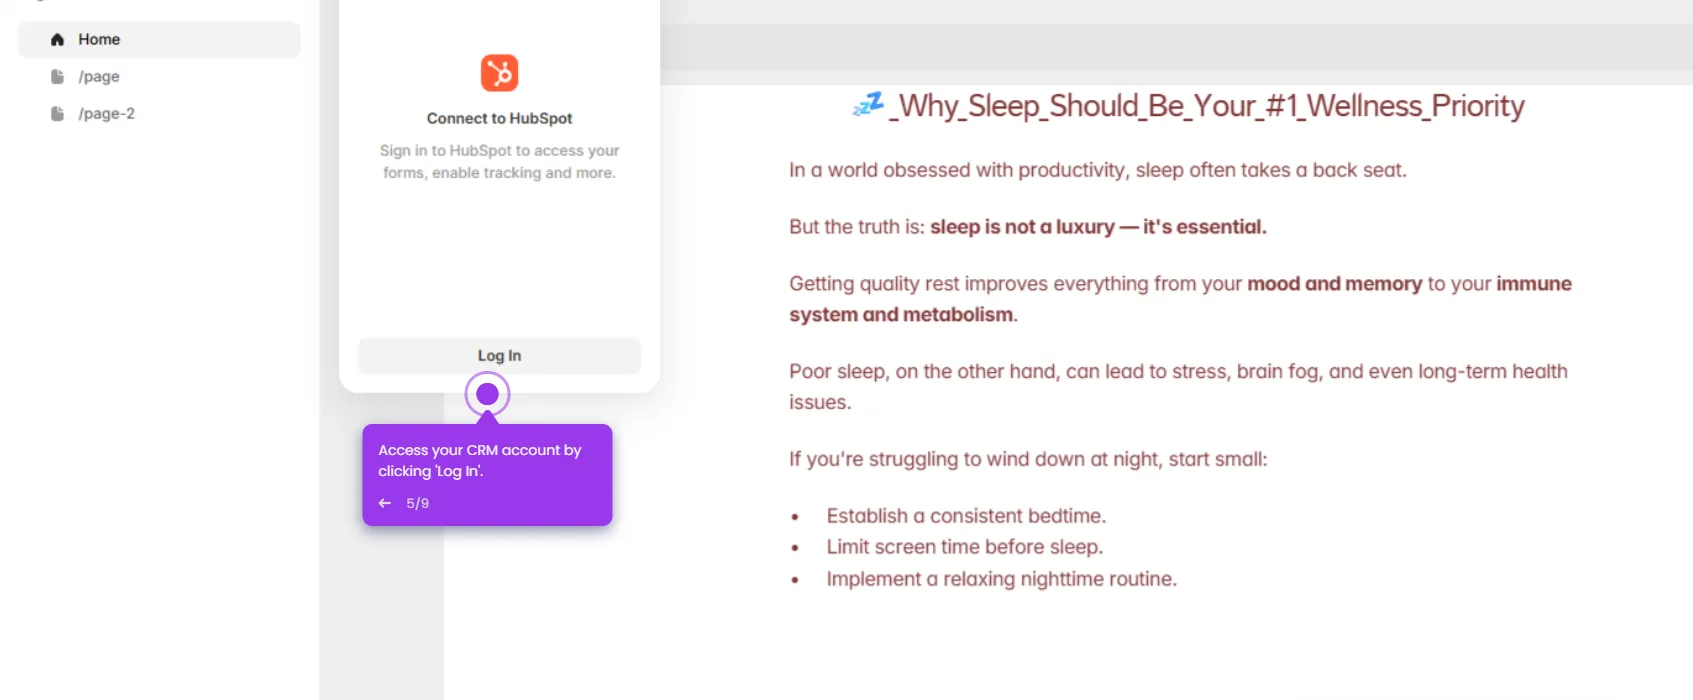
  10. Navigate to Pages to manage your site's structure and confirm placement.
  11. Click Desktop to preview how your finished button looks at full screen size.
  12. Your button in Framer is complete and ready to use in your project.

📌 Why this matters

Creating a well-designed button in Framer is a foundational skill for anyone building interactive websites or prototypes without code. Framer's component-based workflow — combining Stack layouts, padding controls, and border customization — lets designers produce pixel-perfect, production-ready buttons in minutes. Understanding how to configure and preview button components directly in Framer reduces handoff friction and keeps design and development aligned. This matters for product teams, freelancers, and no-code designers who need polished UI elements that are both visually consistent and immediately deployable.
Your product deserves an interactive demo
Start free
Similar Articles
Framer

How to Add Adobe Fonts to Framer

Madhav Bhandari
Director of Marketing @ Storylane
Framer

Framer CRM Integration

Madhav Bhandari
Director of Marketing @ Storylane
Framer

How to Link to Section in Framer

Madhav Bhandari
Director of Marketing @ Storylane
No items found.
Platform
Interactive Demos
Sandbox Demos
Hubs
RepX
Integrations
Solutions
Product Marketers
Growth & Demand Gen
Sales Reps & AEs
Presales & SEs
Customer Success
Product Managers
Customers
Demo Showcase
Customer Stories
Finer Demos Club
Features
Demo Signals
Personalization
Deal Intelligence
Resources
Blog
The Plot
Tutorials
Help Docs
What’s New
Demo Dundies
Company
Careers
Pricing
Partners
Contact
Trust Center
Backed by
Chrome Extension Icon
Chrome extension
Download
Desktop app
Download
Built in San Francisco Bay Area - ©2026 Storylane
Privacy PolicyTerms & Conditions
X Corp (formerly Twitter)LinkedIn
This website uses cookies to ensure you get the best experience on our website. Learn More
Got it
This website uses cookies to ensure you get the best experience on our website. Learn More
Got it