Quick summary
Creating a new notebook in NotebookLM takes just a few clicks — start from the main dashboard, upload an external source file, and your notebook is instantly added to your workspace. This guide walks through each step so you can organize and analyze documents with NotebookLM right away.
Steps
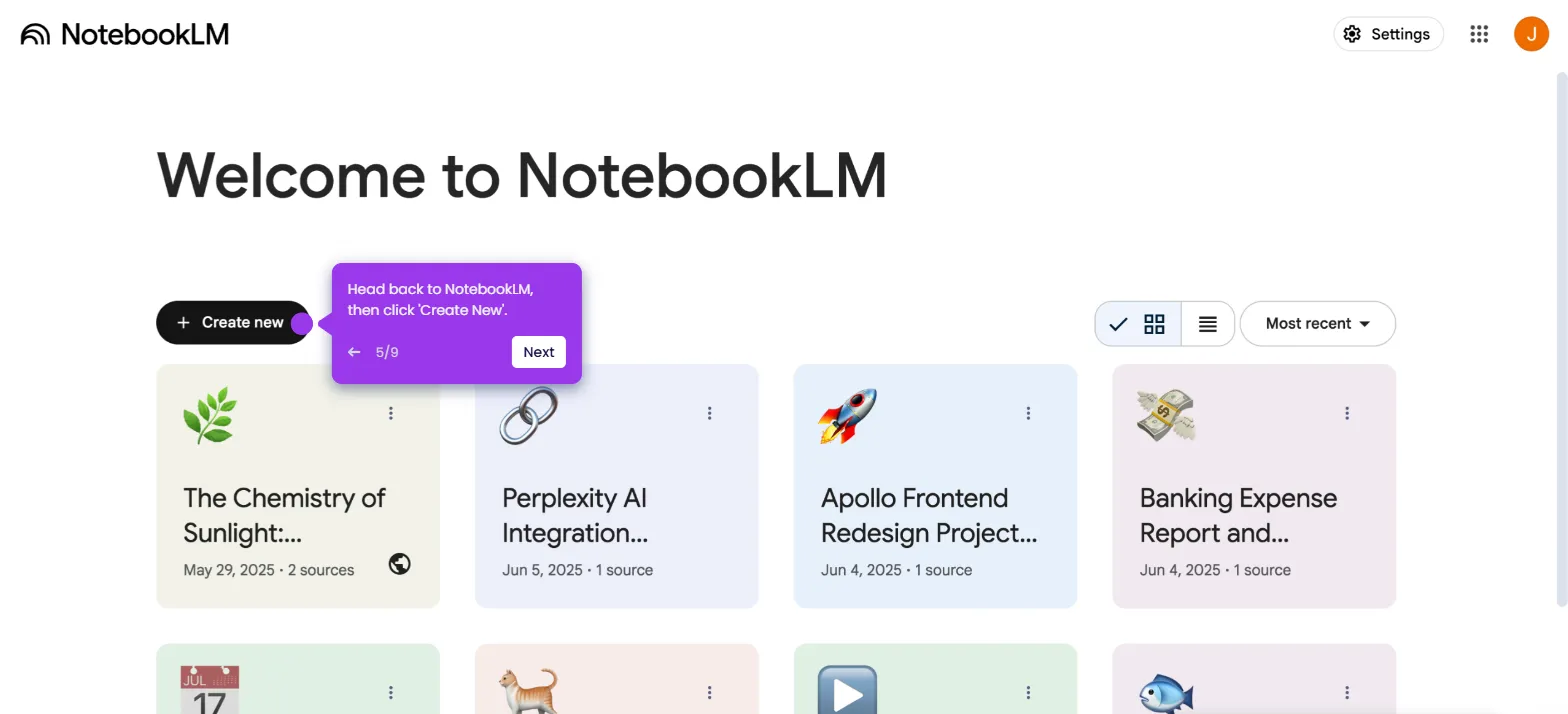
- On the NotebookLM main dashboard, tap the 'Create New' button to begin setting up a new notebook.
- Navigate to the Upload Sources tab and click 'Choose File', then find and select the local file you want to use as the source.
- A new Notebook will be created and automatically added to your NotebookLM workspace, ready to use.