Quick summary
Grouping accounts in a Xero financial report lets you organize related line items under a single custom heading for cleaner, more readable statements. This step-by-step walkthrough covers navigating to Reports, entering Edit Layout, selecting accounts, and applying a Group Selection with a custom row heading.
Steps
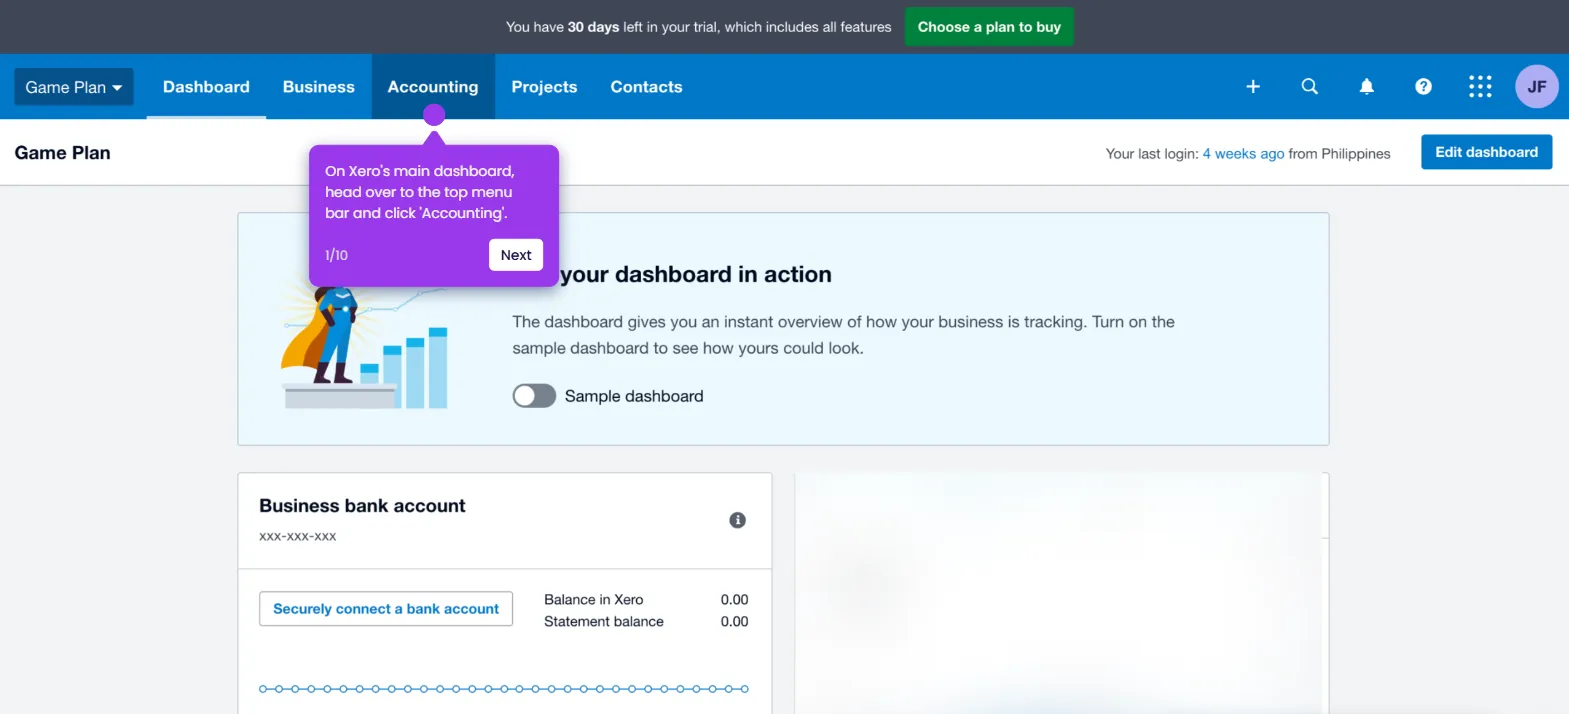
- On the Xero main dashboard, click Accounting in the top menu bar.
- Choose Reports from the dropdown list of options.
- Find and open the financial report you want to edit, such as the Balance Sheet.
- Click Edit Layout in the bottom-left corner of the report.
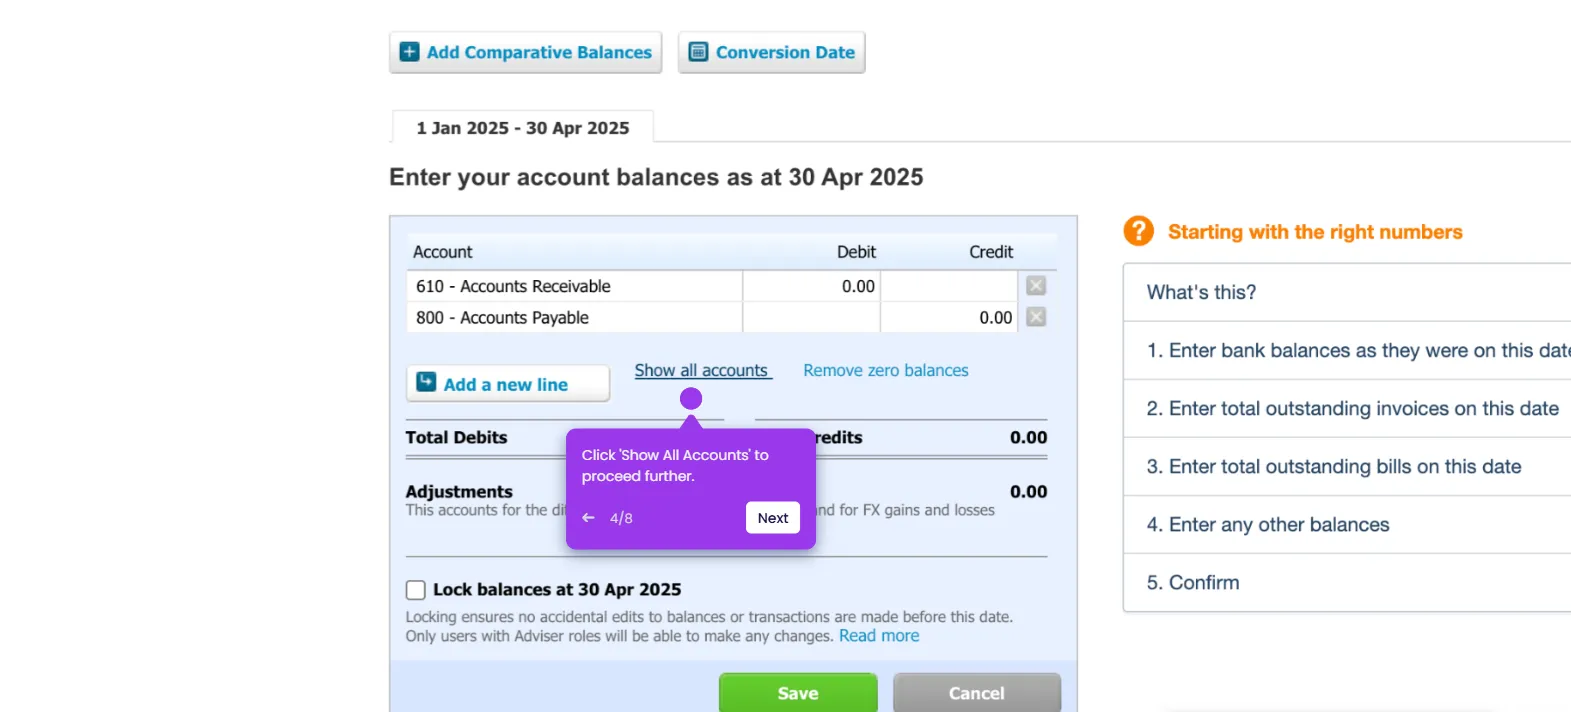
- Review the report content and select all accounts you want to include in the group, such as Accounts Receivable.
- Click Group Selection to group the chosen accounts together.
- Enter a unique name into the Row Heading input field to label the new group.
- After completing these steps, the selected accounts in your financial report will be grouped accordingly.