Quick summary
This tutorial walks you through integrating Airtable with DocuSign via Zapier by setting up a trigger-action Zap that automatically sends DocuSign documents when new Airtable records are created. The entire integration can be completed in minutes without writing any code.
Steps
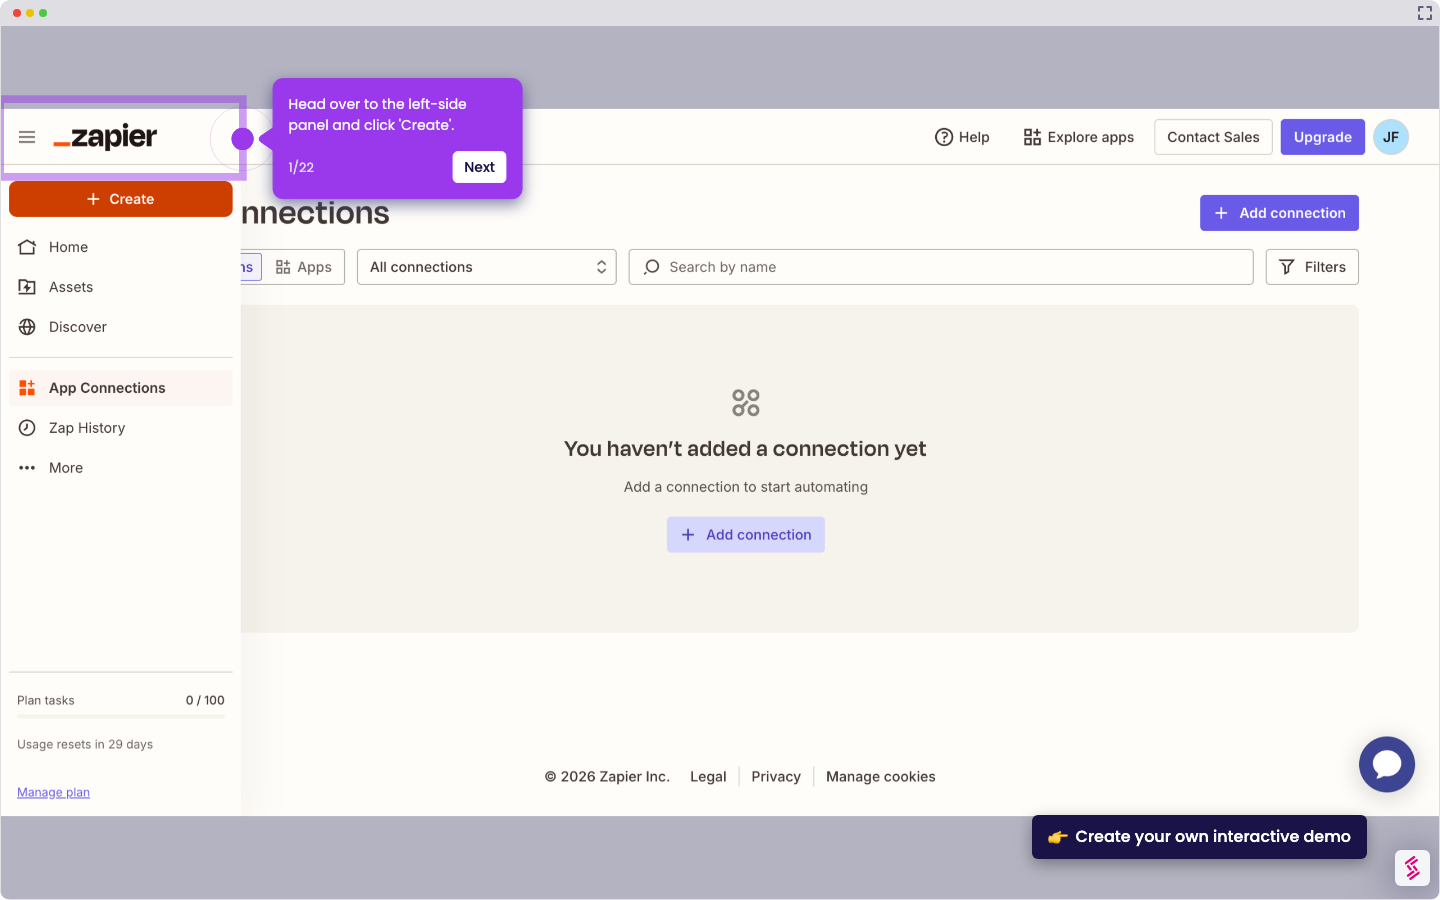
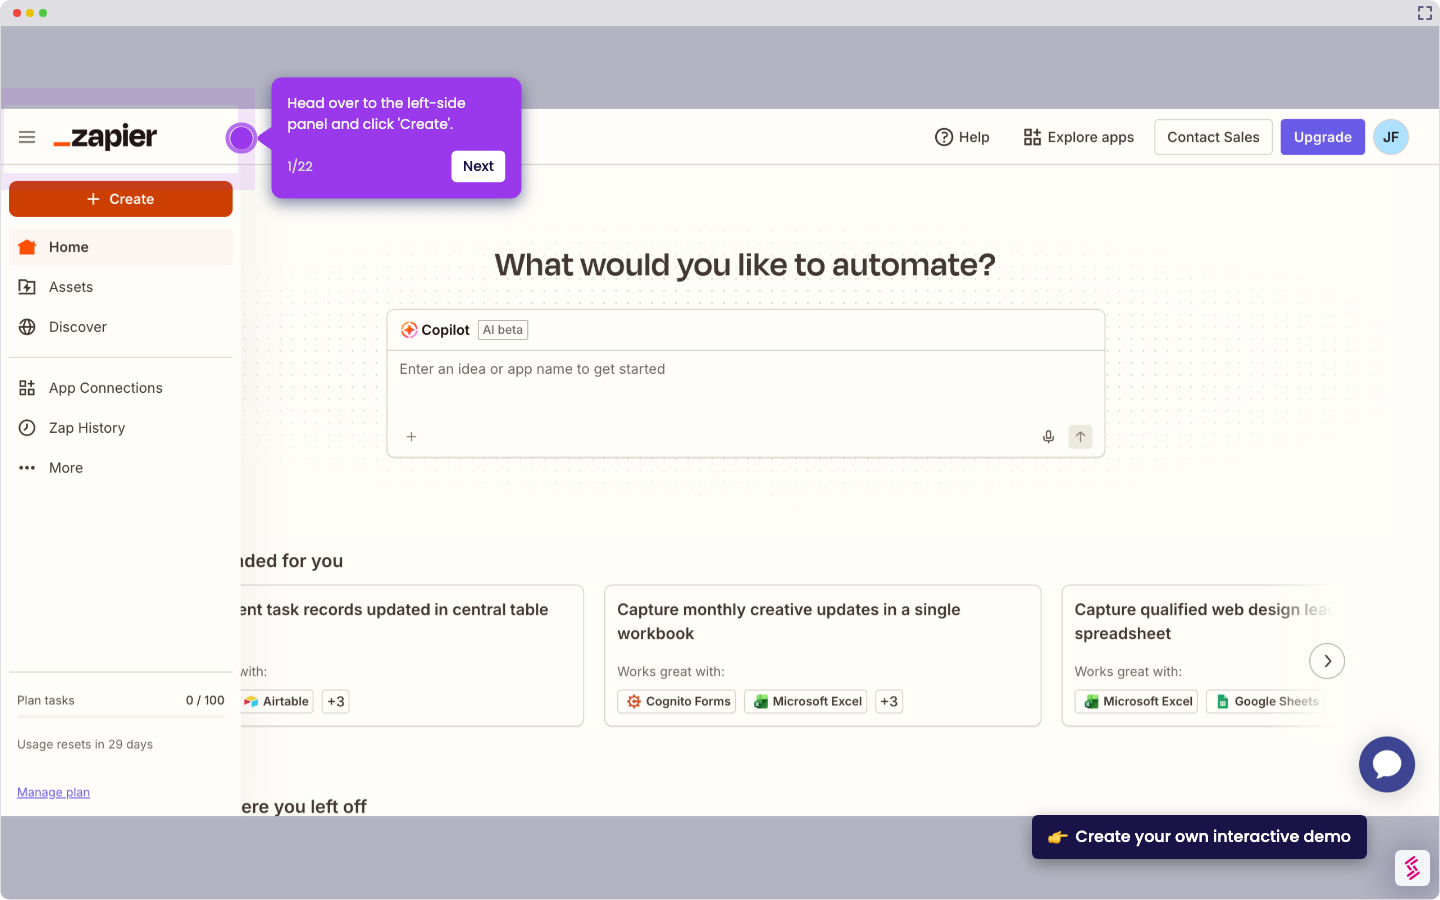
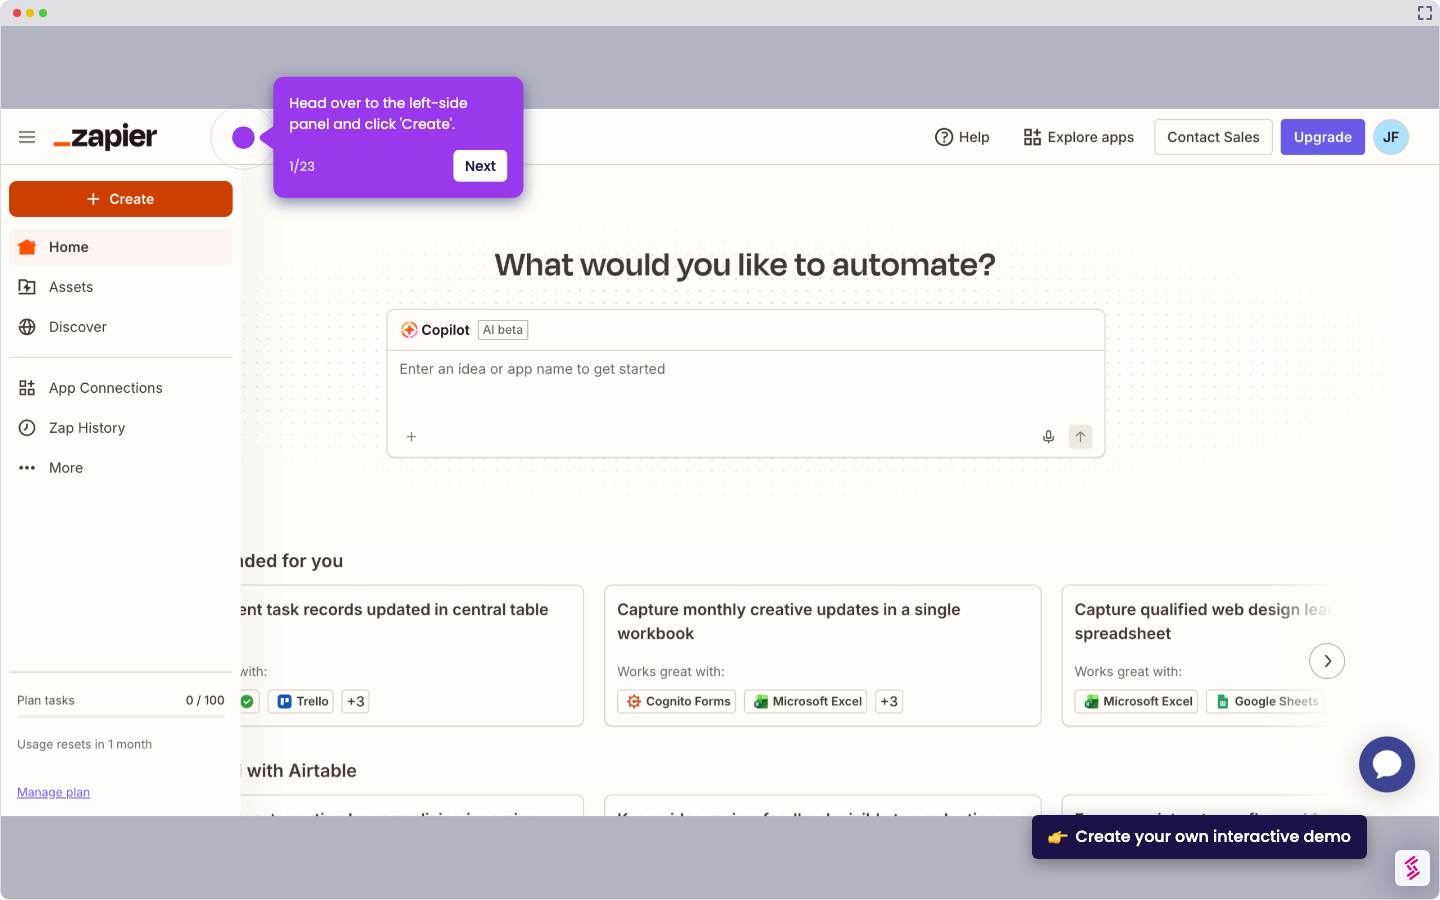
- On the left-side panel, click 'Create'.
- Select 'Zaps' from the list of available options.
- Tap 'Trigger' to start the integration process.
- Search for 'Airtable' and select it as the Trigger App.
- Choose your preferred 'Trigger Event' from the available options.
- Tap 'Sign In' and log into your Airtable account.
- Choose the Airtable workspace you want to use, then click 'Grant Access'.
- Provide all the necessary information to set up the Trigger.
- Tap 'Test' to check and enable the Trigger.
- Click 'Action' afterwards.
- Search for 'DocuSign' and select it as the Action App.
- Click on the drop-down menu and choose your preferred 'Action Event'.
- Click 'Sign In' and log into your DocuSign account.
- Click 'Yes, Continue to DocuSign' to proceed.
- Fill out the input fields with the required information.
- Tap 'Test' to authorize and publish the integration.
- Your Airtable account will be integrated instantly with DocuSign.